How To Make A Plywood Tabletop / Making High End Furniture From Plywood Diy Modern Dining Table 6 Steps With Pictures Instructables. Repeat on the adjacent side so you find the center of the plywood. So, my instructions are written for making a 41″ circle top. You can use these directions to make a different size circle table top, by adjusting the length. My round top is 41″ across and 1 1/2″ thick. Include a paint bucket take care of to make the lantern simpler to walk around, after that rest a candle inside to cast a romantic radiance as well as perhaps release a whiff of your favorite fragrance also.
Once assembled as the diagram above, use 1.25 inch wood screws to secure the leg onto the bottom side of the table top. If you are precise when lining up the edges, you won't need to do much sanding. Cut the plywood using a saw. This is especially the case when you consider how easy those exposed ply edges make it for water to seep in. 2 @ 27¼ to 31¼ inches, depending on desired tabletop height.
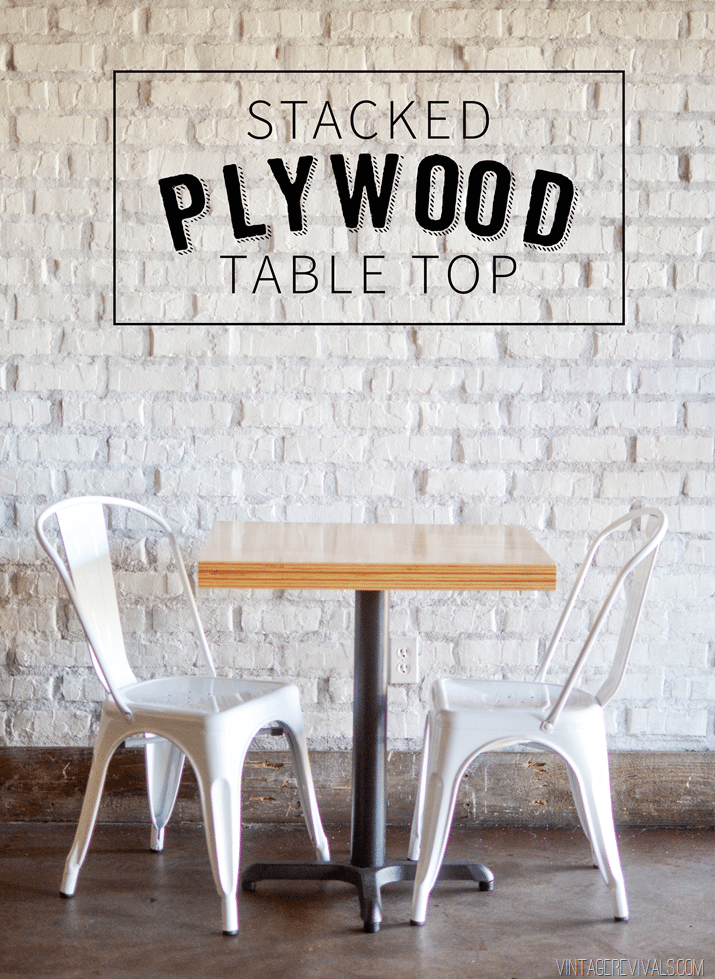
Diy Stacked Plywood Tables Vintage Revivals from vintagerevivals.com My round top is 41″ across and 1 1/2″ thick. Make yours lower (or higher) by cutting more (or less) off the ends of the newel posts. Start by determining what material you want to use for the tabletop. Assemble the inner support frame. The table is 46″ round and once you set it with plates, there isn't a lot of space left for a centerpiece or for serving plates of food. Why make it that way? So, i first laminated a layer of poplar to the top and bottom of the plywood panel (one at a time in my vacuum press). The table legs sit in 4.5″ on both sides.
To make a birch table, take a single sheet of plywood and add smaller pieces for support.
My round top is 41″ across and 1 1/2″ thick. To start, measure across the face of the plywood and mark the halfway point. Use pencil to mark holes for screws in relation to where they attach to base. To make a birch table, take a single sheet of plywood and add smaller pieces for support. The table leg will sit 10.5″ from the edge of the table. It's really not that difficult and if you. Plywood (50% off the original price since i was able to buy just half the sheet): So lets take a further look at what you need to know before you start work on waterproofing your plywood project… Wide popular together to create a panel that is 40 in. This is especially the case when you consider how easy those exposed ply edges make it for water to seep in. So, my instructions are written for making a 41″ circle top. Enter the handy brackets i had secured to the frame when i built it: First, wrap a strip of crepe masking tape around the panel and place the tabletop good side down on a work surface.
How to make this round wood table top. So lets take a further look at what you need to know before you start work on waterproofing your plywood project… Since plywood is basically thin and flat sheets of wood, it's only natural that you can create a plywood table and other easy diy woodworking pieces. About press copyright contact us creators advertise developers terms privacy policy & safety how youtube works test new features press copyright contact us creators. Home depot explains that for any furniture that's designed to bear loads, you'll want to use a.
How To Make A Ping Pong Table Top For A Pool Table from craftedbythehunts.com Make a tabletop with 2x4s. Assemble the inner support frame. This elegant table is constructed from a single sheet of birch plywood. Once the tabletop is done, sand and finishes it before. Use pencil to mark holes for screws in relation to where they attach to base. Across its grain and about 15 in. A piece of 1/2 plywood offers the best approach for determining the optimal size and shape of your tabletop because it lets you test and tweak various options in 3d. This is especially the case when you consider how easy those exposed ply edges make it for water to seep in.
Once assembled as the diagram above, use 1.25 inch wood screws to secure the leg onto the bottom side of the table top.
If you are precise when lining up the edges, you won't need to do much sanding. I clamped down a straight edge and then cut strips off of the plywood to use as supports for the underside of the table. Make yours lower (or higher) by cutting more (or less) off the ends of the newel posts. The best way to keep a plywood tabletop from flexing is to begin with the right kind of plywood. How to make a plywood tabletop attach the plywood tabletop to the frame with screws. You'll be able to cut all the pieces you need for this table at home. So lets take a further look at what you need to know before you start work on waterproofing your plywood project… It was a great option to have. Build your own 8 seater table from just 2 sheets of 8 x 4feet x 3/4inch plywood. Cut the plywood to the maximum size you might want, set it up on something in the place where the finished table will go. Make a tabletop with 2x4s. Measure and then cut 36 inches by four inches on the remaining plywood. Include a paint bucket take care of to make the lantern simpler to walk around, after that rest a candle inside to cast a romantic radiance as well as perhaps release a whiff of your favorite fragrance also.
Measure and then cut 36 inches by four inches on the remaining plywood. Across its grain and about 15 in. I used four clamps to help hold the plywood in place and used 1 1/4 screws to securely fast the 2 layers of plywood together. Construct scrap wood planks into a light box and base, affix package to the base, and also top with brad nails and wood adhesive. This is especially the case when you consider how easy those exposed ply edges make it for water to seep in.
Diy Round Table Top Using Plywood Circles Abbotts At Home from abbottsathome.com The table leg will sit 10.5″ from the edge of the table. Settling on size and shape. Use pencil to mark holes for screws in relation to where they attach to base. This elegant table is constructed from a single sheet of birch plywood. Cut the plywood to the maximum size you might want, set it up on something in the place where the finished table will go. So lets take a further look at what you need to know before you start work on waterproofing your plywood project… Start by determining what material you want to use for the tabletop. Since plywood is basically thin and flat sheets of wood, it's only natural that you can create a plywood table and other easy diy woodworking pieces.
So lets take a further look at what you need to know before you start work on waterproofing your plywood project…
Line up the edges of the support boards and apply a generous amount of wood glue. Home depot explains that for any furniture that's designed to bear loads, you'll want to use a. I clamped down a straight edge and then cut strips off of the plywood to use as supports for the underside of the table. Since plywood is basically thin and flat sheets of wood, it's only natural that you can create a plywood table and other easy diy woodworking pieces. Attach the 2.5″ x 33″ strip to secure the table legs in place using 2.5″ wood screws (see in the diagram above). 2 @ 27¼ to 31¼ inches, depending on desired tabletop height. So lets take a further look at what you need to know before you start work on waterproofing your plywood project… You'll be able to cut all the pieces you need for this table at home. Wide popular together to create a panel that is 40 in. Enter the handy brackets i had secured to the frame when i built it: In my previous home's dining room, i had a plywood table top extender that went right over the table when we needed to seat more than 6 people. I also cut off the corners to make additional supports and to give the tabletop a cool shape. The plywood was just under 3/4 in.